If you are learning databases or building a web application, one of the first things you need to know is how to install and run MySQL on Windows. MySQL is one of the most popular open-source database systems because it is fast, reliable, and beginner-friendly.
In this guide, you will learn how to download MySQL, install it correctly, configure it, use MySQL Workbench, and create your first database and table using simple SQL queries.
How to Download and Install MySQL on Windows
The first step in learning how to install and run MySQL on Windows is downloading the official installer.
Step 1: Download MySQL
- Visit the official MySQL Community download page: MySQL Community Download
- Choose MySQL Installer for Windows
- Download the installer file (.msi).
Step 2: Install MySQL
- Double-click the installer file.
- Choose Developer Default setup type. This option will install:
- MySQL Server
- MySQL Workbench
- MySQL Shell
- Required connectors
- Click Next and wait for the installation to complete.
Step 3: Configure MySQL Server
During setup, the installer will ask you for configurations settings.
- Choose Standalone MySQL Server
- Keep the default port as 3306
- Set a strong password for the root user.
- Click Execute to apply the configuration settings.
Note: Write down your root password because you will need it later.
How to Install and Run MySQL Workbench on Windows
MySQL Workbench is a graphical tool that makes database management much easier.
Step 1: Download MySQL Workbench
Use the official download page: MySQL Workbench Download
Step 2: Install MySQL Workbench
- Open the installer
- Follow the setup wizard
- Finish the installation
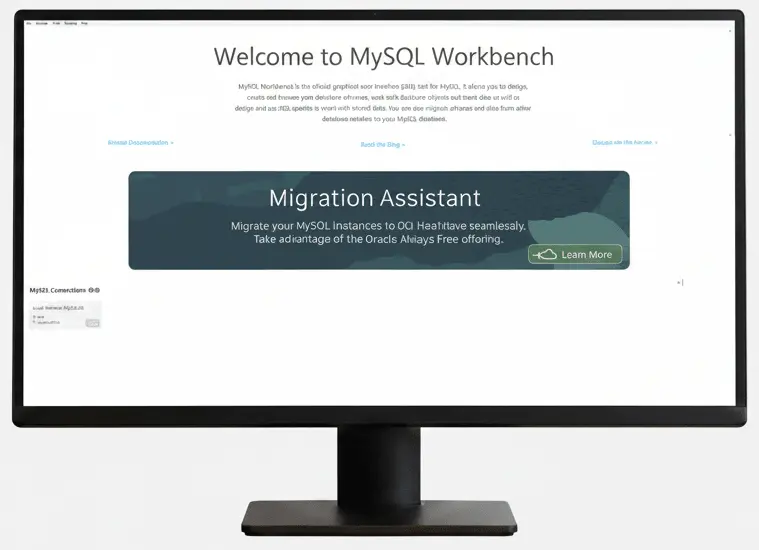
Step 3: Run MySQL Workbench
- Open MySQL Workbench from the Start Menu
- Click the local MySQL connection
- Enter the root password you created earlier
If everything works correctly, you are now connected to MySQL server.
How to Run MySQL on Windows
After installation, you should know how to start and stop MySQL service.
Method 1: Run MySQL from Services
- Press Windows + R
- Type services.msc
- Find MySQL80
- Click: Start → Stop → Restart.
Method 2: Run MySQL from Command Prompt
Open Command Prompt as Administrator and use:
Net start mysql80
To stop it, use:
Net stop mysql80
How to Create a Database in MySQL Workbench
Now that you understand how to install and run MySQL on Windows, it is time to create your first database.
Step 1: Create a Database
Open MySQL Workbench and run this query:
CREATE DATABASE company_db;
To use the database, run this query:
USE company_db;
How to Create a Table in MySQL Workbench
Next, Create a simple employee table.
					CREATE TABLE employees (
	Id INT PRIMARY KEY AUTO_INCREMENT,
	Name VARCHAR(100),
	Department VARCHAR(100),
	SALARY decimal(10,2)
);
Then, click the lightning icon to execute the query.
How to Insert and Test Data in MySQL
Insert Sample Data
					INSERT INTO employees (name, department, salary)
VALUES
	('John Smith', 'IT', 5000),
    ('Sara Lee', 'HR', 4200);
Test by viewing all records:
SELECT * FROM Employees;
Find employees from IT department
SELECT * FROM employees WHERE department = 'IT';
Show salaries above 4500:
SELECT * FROM employees WHERE salary > 4500;
These simple examples help you understand how to work with databases after learning how to install and run MySQL on Windows.
Common Tips for Beginners
Here are a few useful tips:
- Always remember your root password.
- Keep MySQL updated for better security.
- Use MySQL Workbench if you prefer a visual interface.
- Backup your databases regularly.
Summary
Learning how to install and run MySQL on Windows is an important step for beginners in web development and database management.
In this guide, you learned how to:
- Download and install MySQL on Windows.
- Configure the MySQL server.
- Install and run MySQL Workbench.
- Start and stop MySQL services.
- Create databases and tables.
- Run basic SQL queries for testing.
Once you practice these steps a few times, working with MySQL becomes much easier and more enjoyable.